Your first project (part 3): upload files
Now let's navigate to the "Files" tab. This is where you can set up the folders and upload project files.

Click "Create Folder" and you will get an "Add Section Folder" slideout.

Enter a name for your section folder. This could be a discipline such as "Architectural" or "Electrical." Or it could just be something simple like "Current Set" or even "Drawings." It really just depends on whether you want to break up the project into a detailed folder structure, or simply drop all the plans into one folder.
The "Notes" for a section are displayed on the planroom, so include any details about the section that the customer may need to know. Click "Save" to create the section folder.
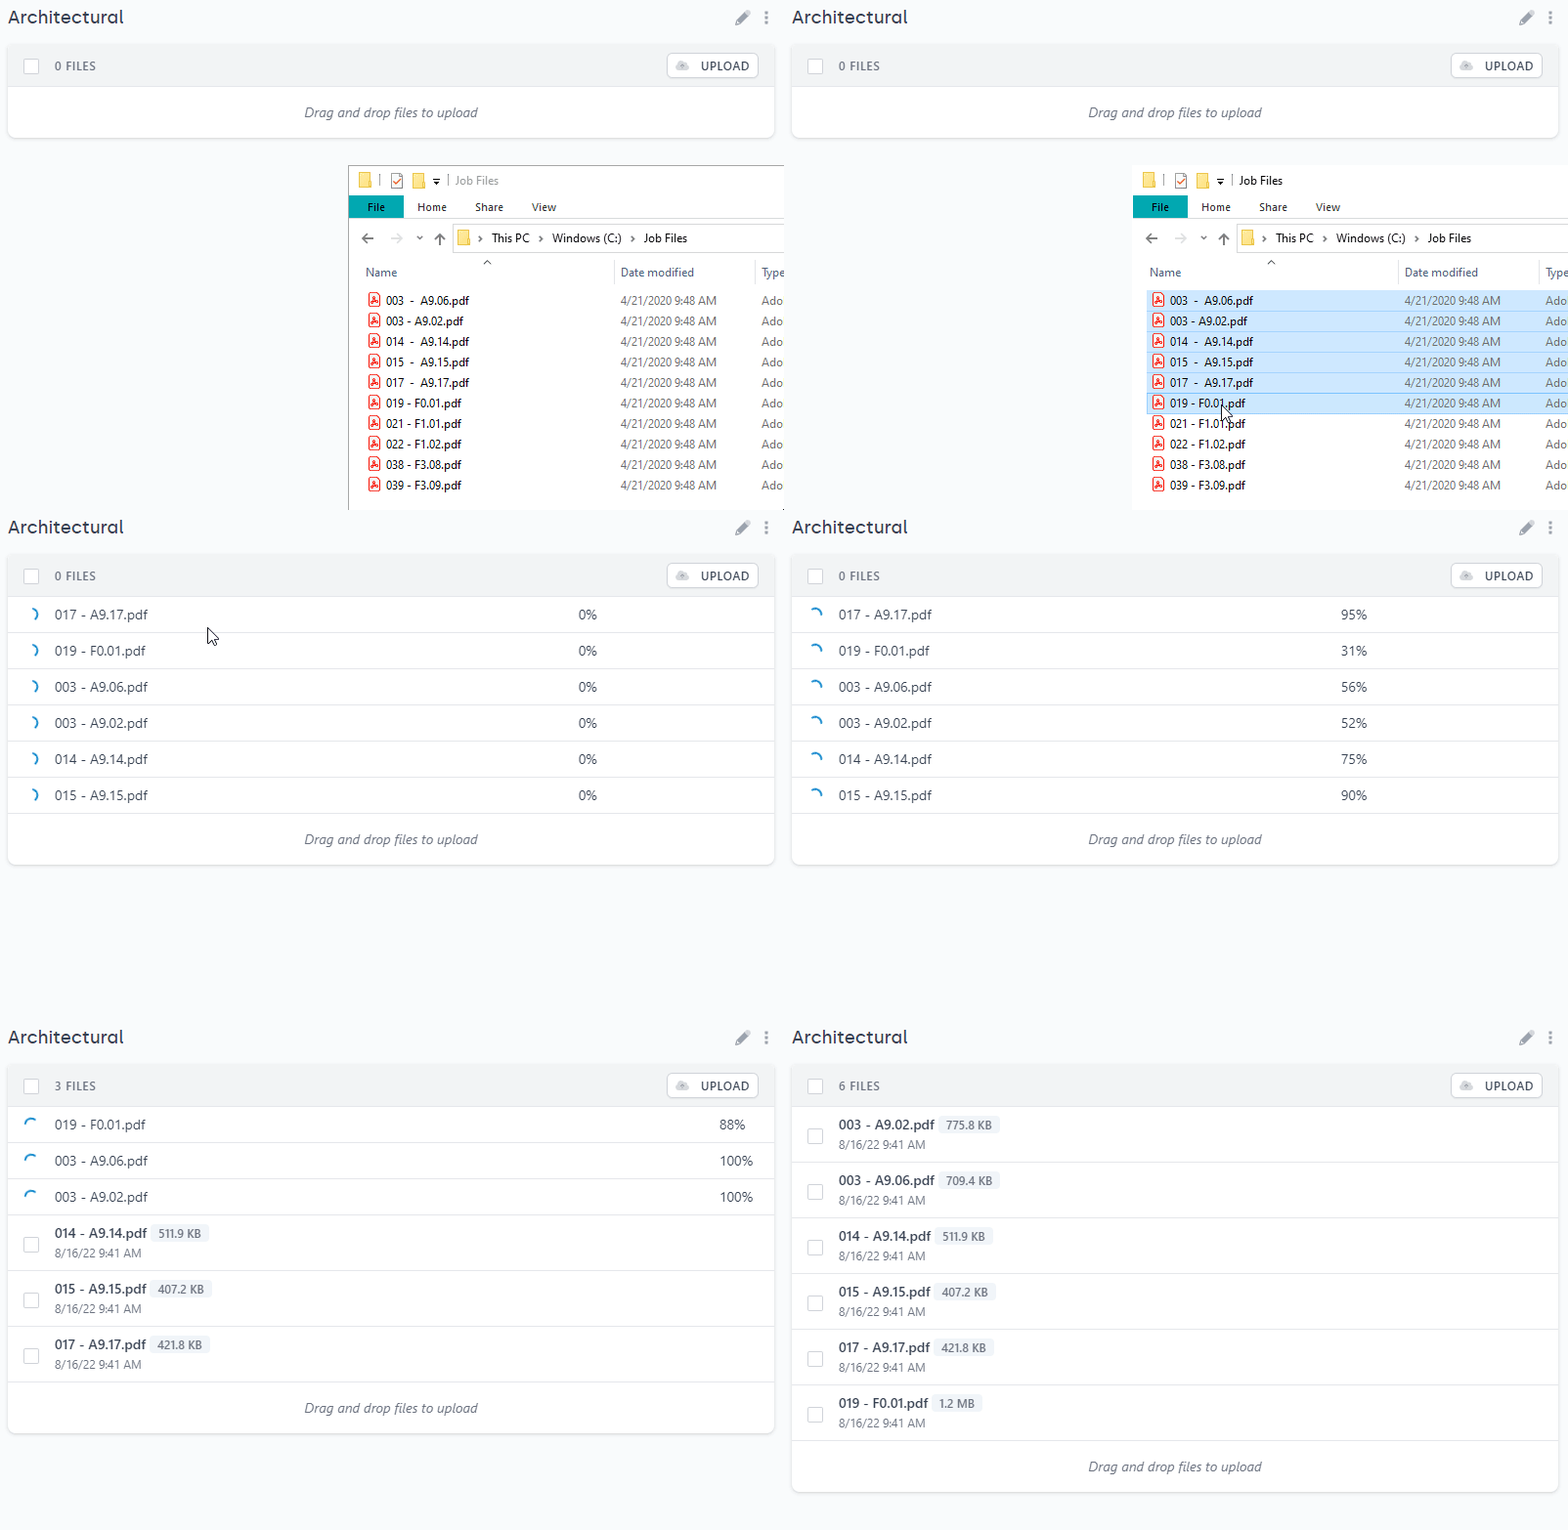
Super. Now that we created a folder, we'll see that we can drag-n-drop files to upload.

You can upload individual page PDFs that are titled and numbered (e.g. AD101.PDF), or you can just upload a full multi-page PDF file of all the drawings. It's completely up to you.
On the right side you'll see options to turn on ordering and downloading, both at the folder level and the file level.

This is completely optional. We already turned on ordering and downloading for the whole job.
If you want to keep this project "full set only" then you are already set, no need to edit these additional options. However, if you want to allow users to order or download individual folders, or even individual files, this is where you can set those prices and options.
Once you have finished putting in the details for your section, all that's left is to upload your files.
That's it! Your files are live on the planroom ready to go.